How to create a lead box
Let me show you how to use Lead boxes based on the way we at Udimi use our own function. We use Lead boxes to collect opt-ins for our mailing list series, teaching people how to start from scratch, based on a real example of a newbie, Mike.
Step 1
Go to the Udimi lead boxes screen and click the Create button.
Step 2
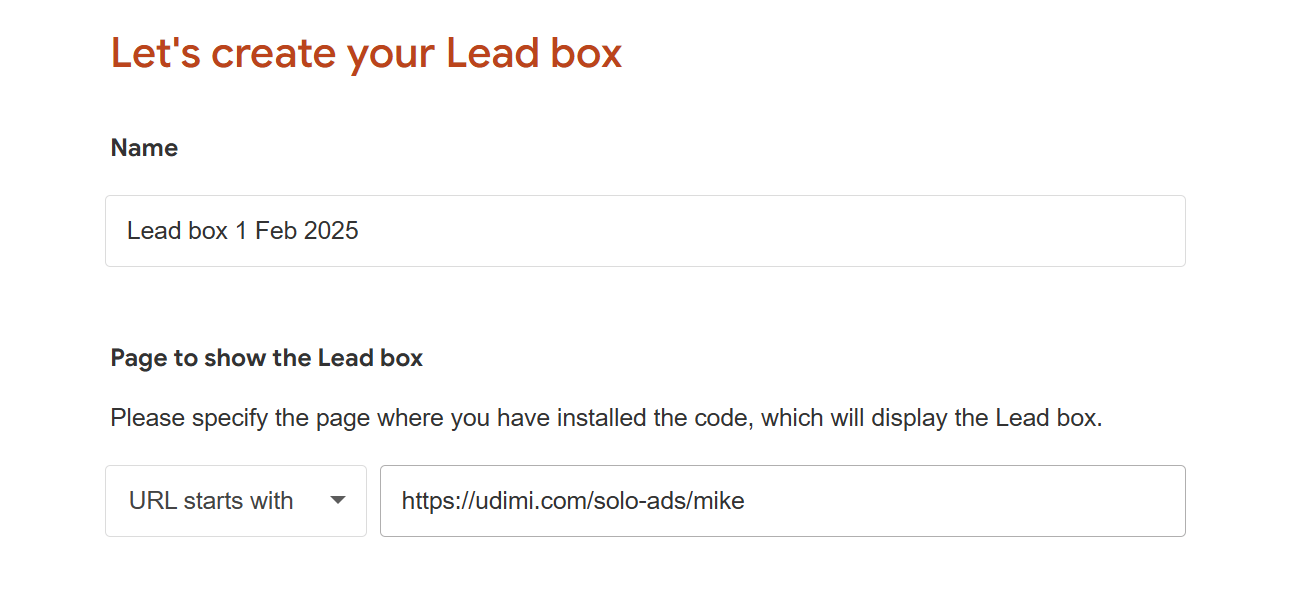
Specify the page where you want your Lead box to appear and to collect visitor emails.
There are two options:
-
Page URL is - The lead box will be shown only on the exact page you've specified.
For example, "udimi.com/solo-ads/", the lead box will appear to users on that exact page only. It will not appear on pages, like: https://udimi.com/solos-ads/mike/ -
Page URL starts with - The lead box will be shown on all pages that have the specified part inside the URI.
For example, "udimi.com," the lead box will also be shown on udimi.com/solo-ads/, udimi.com/forum/, and so on, because the URL starts with "udimi.com"
Step 3. Lead box type
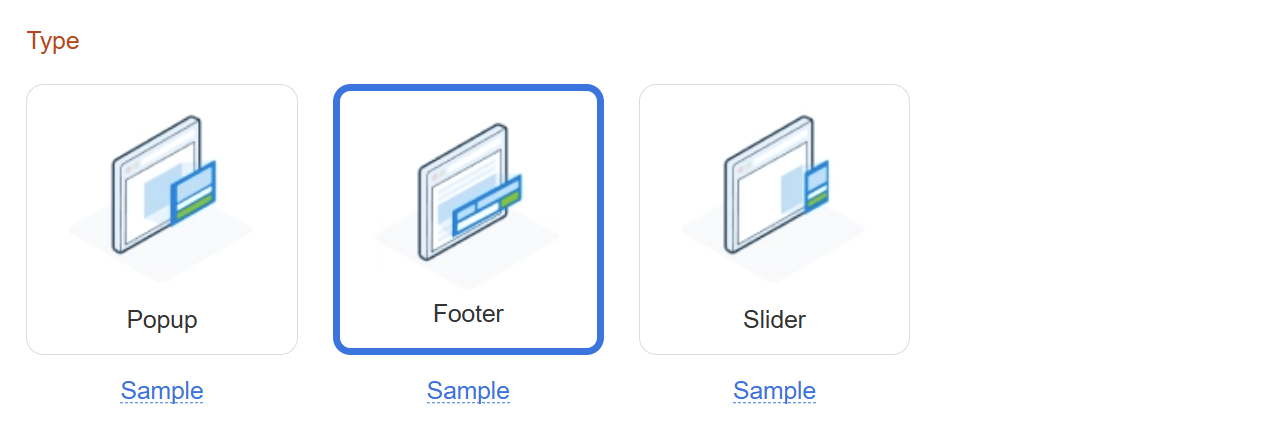
At this moment, we have three types of lead boxes. If you, as a user, need more types, be sure to ping our support with a request.
1. Popup: An unblockable, layer-based popup will appear at the top of your content, based on the conditions you select in the Triggers section.
2. Footer: A thin layer will appear at the bottom of the screen. It will stay connected to the bottom of the screen even if the user scrolls up or down.
3. Slider: A layer will slide into the user's screen, drawing attention with animation.
Step 4. Triggers
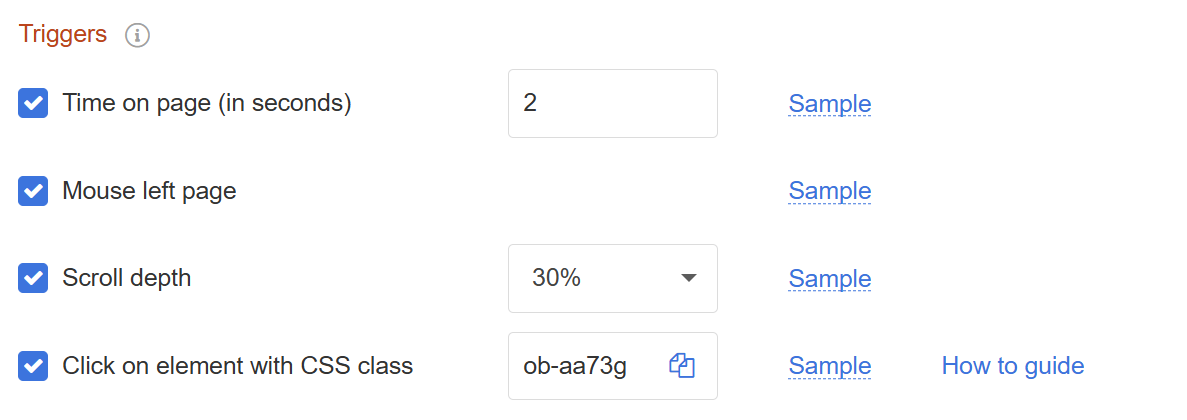
Select triggers to show your lead box. Triggers are conditions that must be met in order to display the lead box.
- Time on page: The number of seconds a user spends on the page. After this time expires, a lead box appears.
- Mouse left the page: lead box appears when the visitor tries to close your site or switch to another tab.
- Scroll depth: lead box appears when the visitor scrolls to a specified percentage depth of your page.
- Click on element with CSS class: lead box appears when the visitor clicks an element on your page: a button or an image, for example. You need to assign a css class tag to your image, like <img class="ob-XXXXX"> and lead box will appear on click.
Step 4. Ready.
Now that you have defined all the settings, click "Save" and proceed to customize the look and feel of your new lead box in the next tutorial.
At this point, your new lead box should start appearing on the page you specified in the first step.

If it doesn't show, please check the correctness of the Udimi code installation.